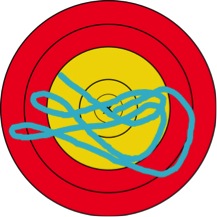
Can You beat Target Panic? Yes, you can!
George Ryals
Target Panic or "aiming problems" as I like to refer to them is a very personal thing. It manefests itself in different ways in different shooters. But... There are common threads that run through everyone's experience.
Here is a article I wrote for "The Glade Magazine" I hope you guys can get something out of it

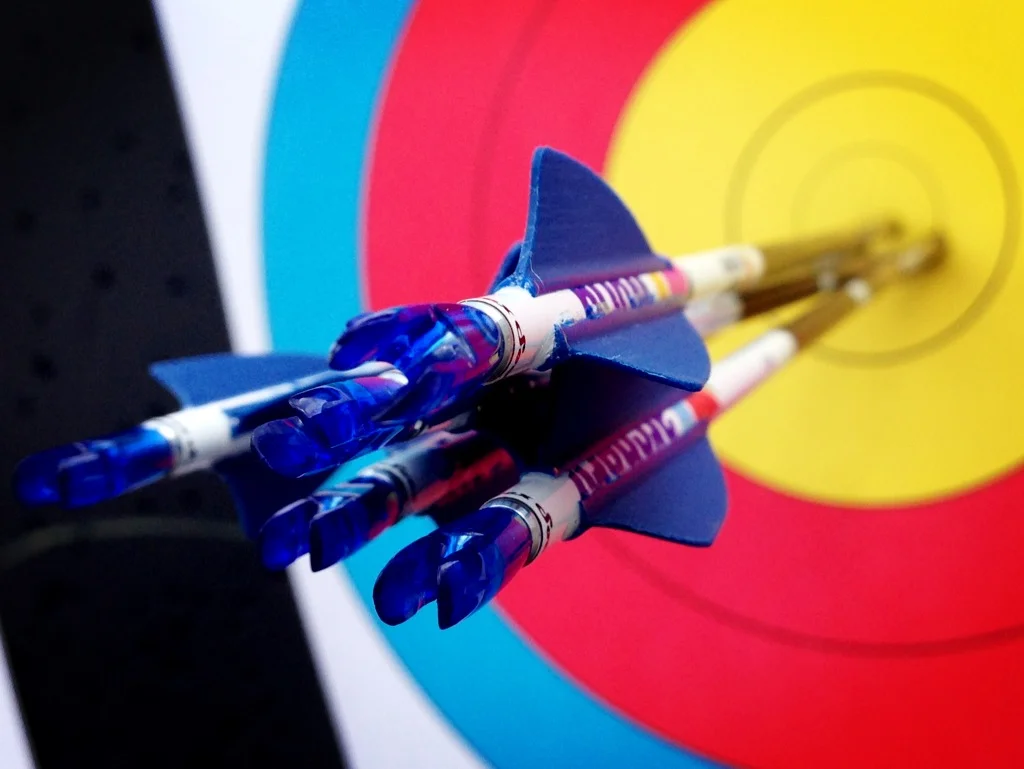
Blank bale shooting up close will help you master the release aid before you begin shooting a target. Matthew here spent months practicing the release without the target to master his technique. His hard work paid off. He won indoor national and outdoor nationals in the same year.
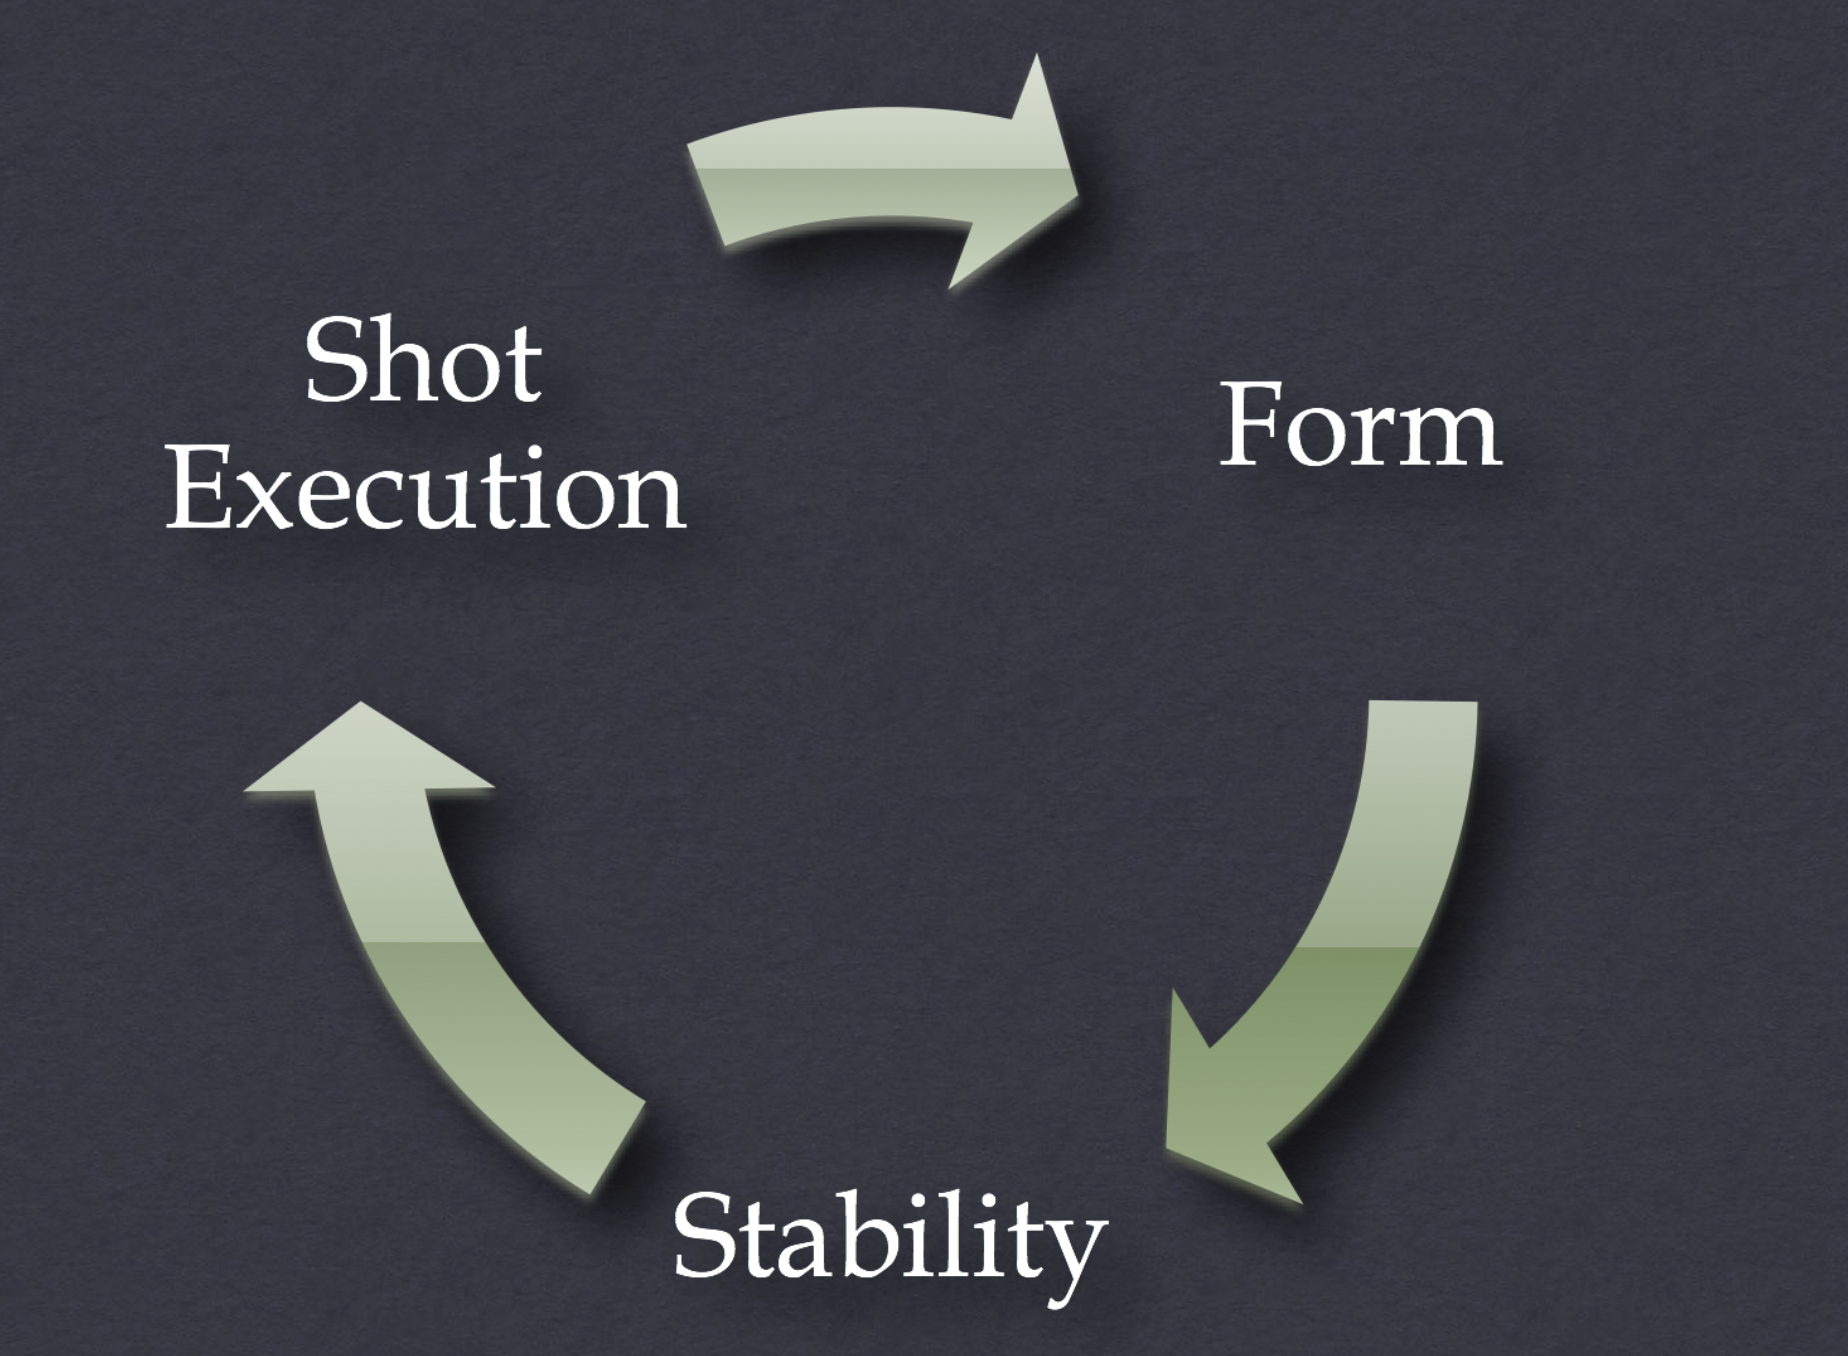
Target panic or Gold Fever is a big issue among shooters. I feel that shot execution problems are one of the largest contributing factors that hold an archer back from meeting their fullest potential. Many shooters blame it on equipment or other things, but in the end you cant just change equipment alone and fix the problem.
Changing release styles to a hinge style (triggerless), pinky, or middle finger activated release is only the first step. By changing the release you have a chance to train yourself with a new and hopefully correct habit. But, you have to treat the root of the issue to be totally free.
What is the root of the problem? I think it is very important to really understand where it came from before you can begin learning proper shot execution from the ground up.
Here’s how it happens to most people…
Many shooters start their release shooting career with a simple set of instructions. “Put the pin in the middle and squeeeeeeze the trigger.” It sounds simple enough, but there is one problem. As a new shooter, you can’t hold the pin in the middle of the target and monkey around with a new release aid at the same time. Eventually they unknowingly slip into a pattern of touching off the trigger as the sight wobbles over the center of the target. In the beginning they see fairly good accuracy and continue to imbed a reflexive trigger response.
Basically over time the shooter develops a hardwired connection between their trigger finger and their eye. The eye sees the pin cross the middle and it triggers the fire reflex. In target shooters this problem manifests itself as a rapid increase in scores and then a jagged average after that. The good days and the bad days are very far apart and the bad days are made worse by pressure and over-trying. The snowballing effect of pressure can be very frustrating at this stage.
The shooter first becomes aware of the problem when trying to increase their scores to the next level. As they become more stable and can hold the pin still on the target, subconsciously they hold off of the center because they are “not ready to shoot”. This slowly becomes freezing. Shooters then try to ease the pin or dot carefully into the center of the target. This works for a short time until their trigger reflex begins shooting too early. It is usually at this point a shooter realizes that there is a problem and they finally can feel the loss of control in their shot execution. Just after the freezing stage is the uncontrollable flinching, jerking, and the frustration from the total loss of control.
The good news is that you can break this habit just about as simply as you learned it.
First, changing releases will help because it will be easier to learn a new release style. I have seen very few people who could learn to shoot their old release effectively, but once proper technique is learned many have great success going back to their old releases.
Second, you need to properly learn how to activate the release and what it feels like when it is happening correctly. The easiest way I know of to do this is to make a loop of string that when looped over your bow hand and hooked to the release, it can be drawn back like a bow and it fits your draw length. The loop will simulate a bow and help you learn to pull through the release. The key here is to shoot your new release over and over and develop the feel of a surprise shot without the distraction of the bow and sight. Because of the connection between the sight, your eye, and the target is what triggers the response; you have to eliminate the sight and target for now.
When you are shooting the loop, learn to relax your release hand through the releasing process. Here’s how it works. While you have the shooting loop at full draw, develop tension in the loop. Wrap your finger around the trigger or set your fingers on the triggerless release deeply and pull against the loop. You should feel the pressure building against the pads of your fingers. As that pressure builds allow your index and middle fingers to yield against the pressure. It will be almost as if your fingers are relaxing out of the release. This yielding created a transfer of power from the finger beds to your trigger finger applying pressure to the button causing it to fire on its own time. If you are shooting a Stan, the pressure will transfer from your index finger to your third or fourth finger causing the release to pivot enough to fire. NOTE: when this is done correctly, someone watching will barely notice a change or any movement. It is more of a power transfer than a movement.
Continue to practice this and stay away from your bow until you have it perfected and you have done it enough to be habit. I am talking a couple weeks (depending on how bad your problem is.) Resist the urge to advance too quickly. This is what got you to where you are now. You want to build a good strong foundation of habit that will stay with you from now on. You will want to practice this step until it is an automatic response.
The next step is transferring the feel to your bow. Take the sight off your bow and remove the target from the bale. Shoot arrows at a very close range with your eyes closed. Concentrate only on making the feel exactly like it was on the loop. Do this for a week if you have to. Only advance when you have it down perfect and it is an automatic response or habit.
Now you can put your sight on the bow and get at about 5 yards. This step requires a little visualization skill that you will have to learn as you go. Draw your bow and line up the sight with the blank bale. Then close your eyes and visualize the dot slowly floating in the X-ring, and then execute the shot. Continue to practice this and make sure that you visualize the dot floating in the x. You will hardly ever see it sit still so you will need to make it as realistic as possible. Continue to practice this for at least a week or more depending on how bad your issue was.
Finally you get to put a target up on the bale… But you can’t shoot it yet. During this step you will develop a new habit. You will learn to confidently approach the target and get used to the idea that the pin or dot can be in the middle without immediately triggering the shot. Stand at about five yards and do these steps
1. look at the X you want to shoot
2. Keeping your vision on that X, draw your bow
3. Keep your vision on the X and move into your anchor
4. The move the peep and scope into view of your eye and it should line up with the X you are looking at.
5. Pause on the X, watch it float, and after about 8 seconds or so let down. Take time to get a good look at it, get used to it.
Make sure you splash the dot or pin right into the middle of the X and let it float. Resist the urge to creep into it. Repeat this at 5 yards until you feel good about it, then move to 10 and repeat again. Once you have a good feel for that, move to 15 and then 20. This will give you a good idea of what sight movement really is and let you show yourself that you can hold on the X. The whole object of this exercise is to desensitize yourself and eliminate the connection between your eye, target, and release.
Now it’s been about 6 weeks and you should be ready to shoot your first shots. Set up at five yards and try to recreate actual shooting conditions. You should keep score and write it down, even go as far as use an official league score card. Shoot a full game on the target of your choosing. I prefer to score FITA style on a Vegas face, but if the NFAA Nationals are near, I will use a five spot. Concentrate on shooting the shot correctly and just let the sight float. Be on guard and don’t let old habits sneak in. Make yourself comfortable with holding in the middle while allowing the shot to smoothly and naturally execute. If you are completing this with no trouble at all and are shooting perfect shots after a couple days, you can move on, but only advance when you have mastered the release.
Now you have mastered 5 yards you will move to ten and continue scoring and shooting. Spend a week or two here and continue until you have mastered ten and can go through a full game without a single bad shot. Next move on to 15, and then 20.
By the time you make it out to 20, you should be in control of your shot and be well on your way to shooting top scores. There will still be rough days and minor relapses. If you experience trouble, go right back to 10 yards and shoot some 10 yard games to re-affirm the feel and the flow of good shooting. This all may seem like a lot to go through and taking half a season off to fix yourself is a price you have to pay. I will guarantee you that all the boredom and minutia that you go through during this process will be well worth it in the end and it will reward you will a long and full career of enjoyable shooting.
You just have to ask your self, “how bad do I want it?”